Okay, real talk—some desserts are just meant for summer. You know what I mean. Light, fruity, cold… the kind of treat that makes you want to sit on the porch with your feet up and a big ol’ spoon in hand. This pineapple dessert recipe? Yeah, it checks all the boxes.
I’ve been making this one for years, and honestly, it never gets old. It’s creamy, sweet (but not too sweet), and packed with that bright, juicy pineapple flavor that just feels like sunshine.
So, if you’re looking for an easy pineapple dessert that’s no-bake, make-ahead friendly, and an absolute crowd-pleaser—this one’s for you.
Why This Pineapple Dessert Works
I’ve had my fair share of desserts that try too hard. But this one? It keeps it simple.
Here’s why people go nuts over this recipe (and why I keep making it for every BBQ, potluck, and random Tuesday):
- No oven. Yup, zero baking. Perfect for those hot days when turning on the oven feels like a crime.
- Only a handful of ingredients. Most of them you probably already have.
- Make-ahead friendly. Prep it the night before, and it’s even better the next day.
- Versatile. You can dress it up or keep it super chill. Totally up to you.
Ingredients You’ll Need
Here’s everything that goes into this pineapple magic. You’ll find it’s a mix of pantry staples and fridge basics—nothing fancy, just real good stuff.
Base layer:
- 1 sleeve of graham crackers (crushed into crumbs)
- 1/3 cup melted butter
- 2 tablespoons sugar (optional, depending on how sweet you like it)
Filling:
- 1 can (20 oz) crushed pineapple in juice (don’t drain!)
- 1 package (8 oz) cream cheese, softened
- 1 tub (8 oz) whipped topping (like Cool Whip)
- 1/2 cup powdered sugar
Topping:
- Extra whipped topping
- A few pineapple chunks or maraschino cherries (for that retro vibe)
Step-By-Step: How to Make This Easy Pineapple Dessert
Alright, let’s get into the how-to part. No special equipment needed—just a bowl, a spoon, and maybe a hand mixer if you’re feeling fancy.
1. Make the crust
Crush up your graham crackers (I usually throw them in a zip-top bag and smash with a rolling pin—fun and kinda therapeutic). Mix the crumbs with melted butter and sugar. Press this into the bottom of an 8×8-inch pan. Pop it in the fridge to chill while you make the filling.
Quick tip: If you want a firmer crust, you can bake it at 350°F for 8 minutes—but honestly, I almost never do. It sets just fine in the fridge.
2. Whip up the filling
In a big bowl, mix the softened cream cheese with powdered sugar until smooth. Add the crushed pineapple (juice and all!) and fold in the whipped topping. It should look light, fluffy, and slightly lumpy from the pineapple bits—and smell amazing.
3. Spread and chill
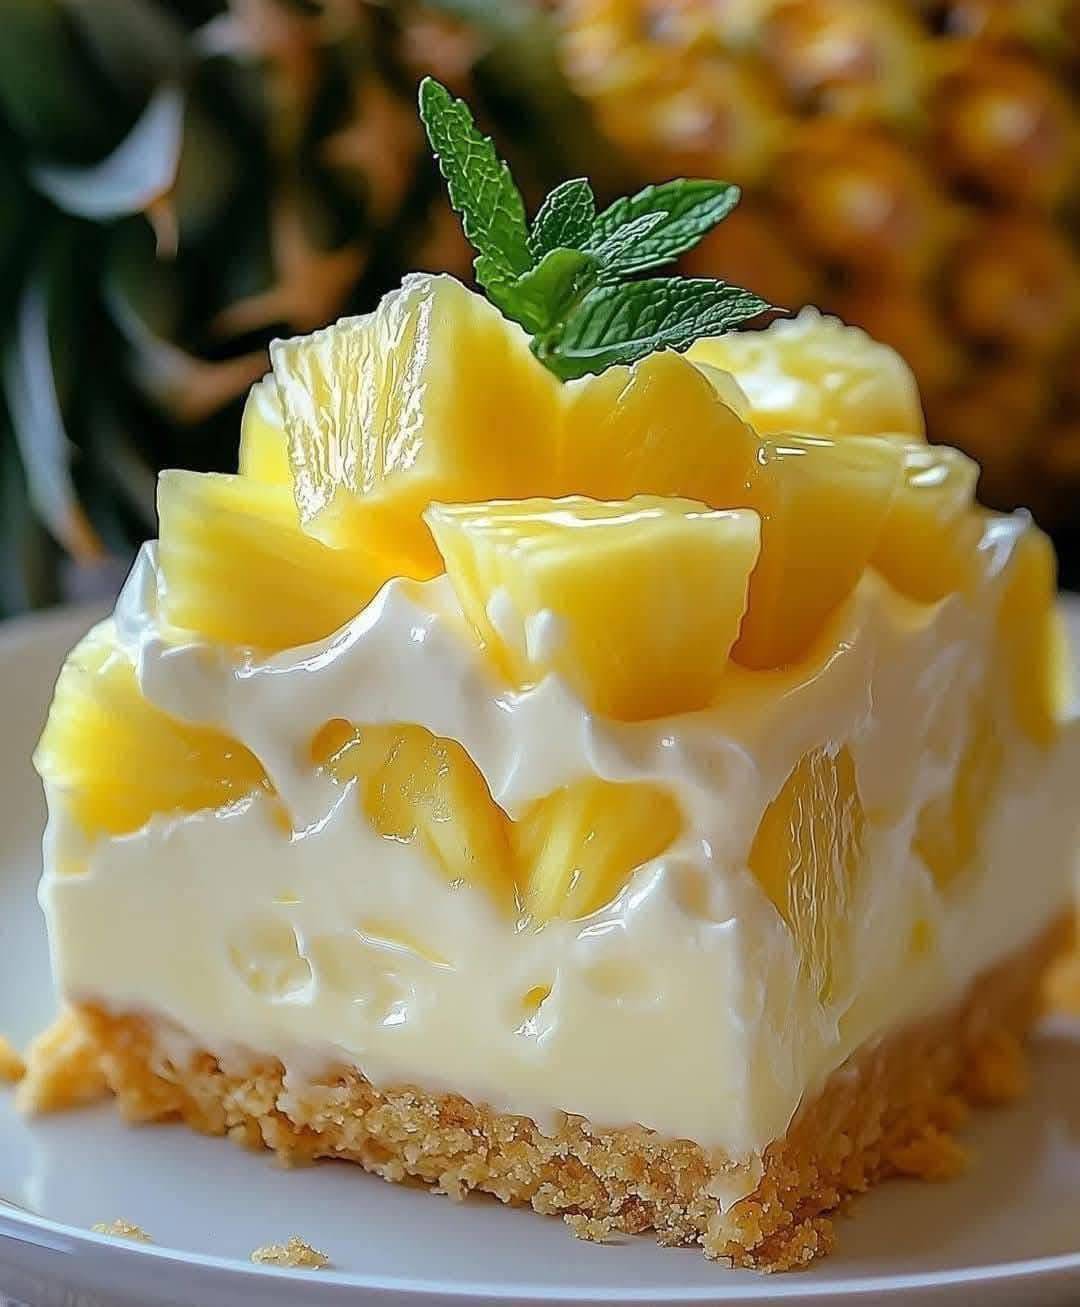
Pour the pineapple mixture over your crust and spread it evenly. Top with more whipped topping if you’re feelin’ it, then add your decorative bits—pineapple chunks, cherries, a little sprinkle of graham crumbs, whatever works.
Cover and chill for at least 4 hours (overnight is even better). That gives it time to set and lets all those flavors hang out together.
How It Tastes (Spoiler: Really Dang Good)
So what do you get after all that chilling? A creamy, dreamy dessert with the tang of pineapple, the smoothness of cream cheese, and just the right crunch from the crust.
It’s cold, refreshing, and not heavy like some other no-bake treats. Honestly, this stuff disappears fast—like “wait, who ate half the pan?” fast.
Make It Your Own
Want to switch it up? You totally can. Here are a few easy ways to give this pineapple dessert a little twist:
- Add coconut. Mix shredded coconut into the filling or sprinkle it on top for a tropical punch.
- Try vanilla wafers instead of graham crackers. It changes the texture and adds a soft vanilla note.
- Make it in a trifle bowl. For a party, layer the crust, filling, and topping in a glass bowl—it looks super pretty!
- Add chopped pecans or walnuts. For a little crunch and nuttiness.
- Swap cream cheese for Greek yogurt. It changes the flavor a bit—more tang, less richness—but still really good.
Storage Tips
This dessert keeps well in the fridge for up to 3 days—just keep it covered. I don’t recommend freezing it, though. The texture changes and gets kinda icy. But since it’s no-bake and quick to throw together, you can always whip up a fresh batch when the craving hits (and trust me, it will).
When to Serve It
Basically? Anytime.
But it really shines at:
- Backyard BBQs
- Potlucks
- 4th of July
- Family game nights
- After-dinner “I want something sweet” moments
Honestly, I’ve even eaten it straight out of the pan with a fork while standing in front of the fridge. No shame.
Final Thoughts
If you’re looking for a pineapple dessert recipe that’s easy, crowd-pleasing, and totally hits the spot, this one’s it. I’ve made it for birthdays, holidays, Tuesdays—it’s just one of those recipes that never goes out of style.
Plus, let’s be real. There’s something kinda nostalgic about it. Like, your grandma definitely had a version of this in her recipe box, right?
So yeah. Keep it simple, keep it sweet, and grab a spoon. You’re gonna want seconds.