You know how some recipes just feel like home? For me, that’s Grandma’s Pie Crust. I swear, every holiday growing up, the smell of a pie baking in her old oven was enough to drag me straight into the kitchen. And let me tell you—this crust is no store-bought shortcut. It’s flaky, buttery, with just the right amount of crunch. The kind of crust that makes you sneak a bite off the edge before anyone even touches the filling (don’t judge, I know I’m not the only one).
If you’ve ever struggled with pie dough that turns tough or crumbly, this recipe is about to change your pie game. It’s simple, forgiving, and loaded with the kind of love only a grandma could pass down.
Why Grandma’s Pie Crust Is the Best
So here’s the thing—most pie crusts use just butter or just shortening. But Grandma always said, “Why pick one when you can have both?” Butter gives that rich flavor, while shortening keeps it flaky. Add a splash of vinegar and ice water, and boom—you’ve got dough that’s easy to roll and bakes up golden every time.
Honestly, I’ve tried “fancier” recipes, but nothing beats this one. It’s the pie crust I pull out for Thanksgiving pumpkin pie, a summer peach pie, or even just a good ol’ chicken pot pie.
Ingredients You’ll Need
(Grab these before you get started—cold ingredients make all the difference!)
- 3 cups pastry flour
- 1/2 cup shortening
- 1/2 cup cold butter, cubed
- 1/2 cup ice-cold water
- 1 tablespoon white vinegar
- 1 teaspoon salt
Step-By-Step: How to Make Grandma’s Pie Crust
1. Mix the Dry Stuff
In a big mixing bowl, sift together the flour and salt. It keeps the crust light and airy—trust me, skipping this step makes a difference.
2. Cut in the Fats
Toss in the cold butter and shortening. Use a pastry cutter (or just your hands if you’re like me and impatient). Mix until it looks like coarse crumbs. The trick here? Keep it cold. Warm butter = sad, heavy crust.
3. Add the Liquid
In a small bowl, stir together the ice water and vinegar. Slowly drizzle this into the flour mix, a little at a time. Use a fork to pull the dough together—don’t overmix. (Grandma always said, “Less fussing makes a flakier crust.”)
4. Divide and Roll
Split the dough in half. Roll one half on a floured surface until it’s about 1/8 inch thick. It should be just big enough to hang a little over your pie dish.
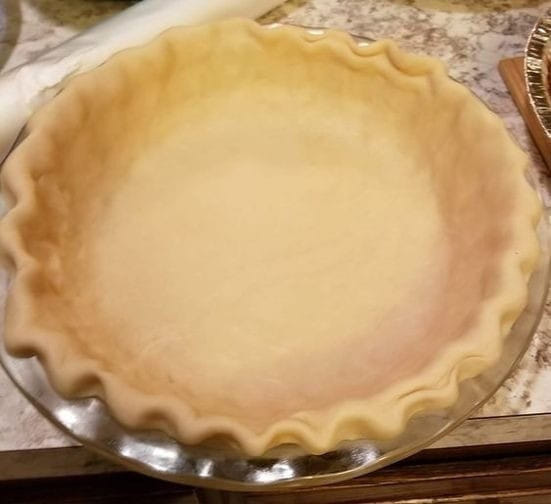
5. Shape It Up
If you’re making a single-crust pie, trim and crimp the edges. For a double crust, roll out the second half of the dough and lay it over your filling. Seal it up by pinching the edges together or pressing with a fork—just like Grandma did.
6. Bake That Beauty
Follow your pie recipe’s baking directions. Most pies bake at 375–400°F for 30–45 minutes, depending on your filling.
A Few Tips from My Kitchen to Yours
- Chill the dough: If your kitchen’s warm, pop the dough in the fridge for 15 minutes before rolling. It makes life easier.
- Glass pie dish > metal: You’ll see that golden bottom crust you worked so hard on.
- Don’t skip the vinegar: It keeps the dough tender—one of Grandma’s secret tricks.
Final Thoughts
There’s something magical about recipes that carry family stories. Grandma’s Pie Crust isn’t just about flour and butter—it’s about tradition, comfort, and, let’s be real, bragging rights at the dessert table.
So the next time you’re baking, skip the frozen crust and give this recipe a shot. Who knows, maybe one day, your kids or grandkids will be calling it your pie crust.
Leave a Reply